DIY: Create a Humidity Chamber for Your Pottery and Say Good-Bye to Cracking
Looking for a solution to stop your pots from cracking during the drying phase? Well, thanks to my husband for coming up with this solution to prevent cracking. I can now say I have overcome this issue.
A Quick Overview:
Step 1: Select a storage unit to house the pottery.
Step 2: Purchase a reptile misting system and two sponges, then install.
Step 3: Purchase and install a humidity controller.
Step 4: Purchase, cut and line storage shelves with cement board.
Step 5: The Humidity Chamber is now ready to use.
Living in the desert Southwest where the humidity levels can be as low as 4% has its challenges when working with clay. I work with a high quality porcelain and use it for wheel throwing and hand-building.
In most community pottery studios, work that is produced is covered with plastic and set on a shelf until the next time in the studio. This approach was not working for me at my newly acquired personal studio. I was losing one too many pieces in the drying phase. In my studio environment, I have four zones that are controlled individually through a mini-split system for heating and cooling the studio. In order to prevent high heating and cooling costs, the units are turned on only in the rooms that I am using that day. In the other rooms the temperature can run hot or cold depending on the time of the year. When I leave the studio for the day, the mini-split systems are turned off, again leaving the studio to get hotter or cooler.
In discussing the cracking issue with my husband and doing some research. The goal was the to keep the pottery in a 50% humidity controlled environment for the pottery to slowly and evenly dry in, ultimately to eliminate the cracking. Here’s an overview of what my husband came up with.
Step 1: Select a storage unit to house the pottery.
I chose a tall steel cabinet with five adjustable shelves.
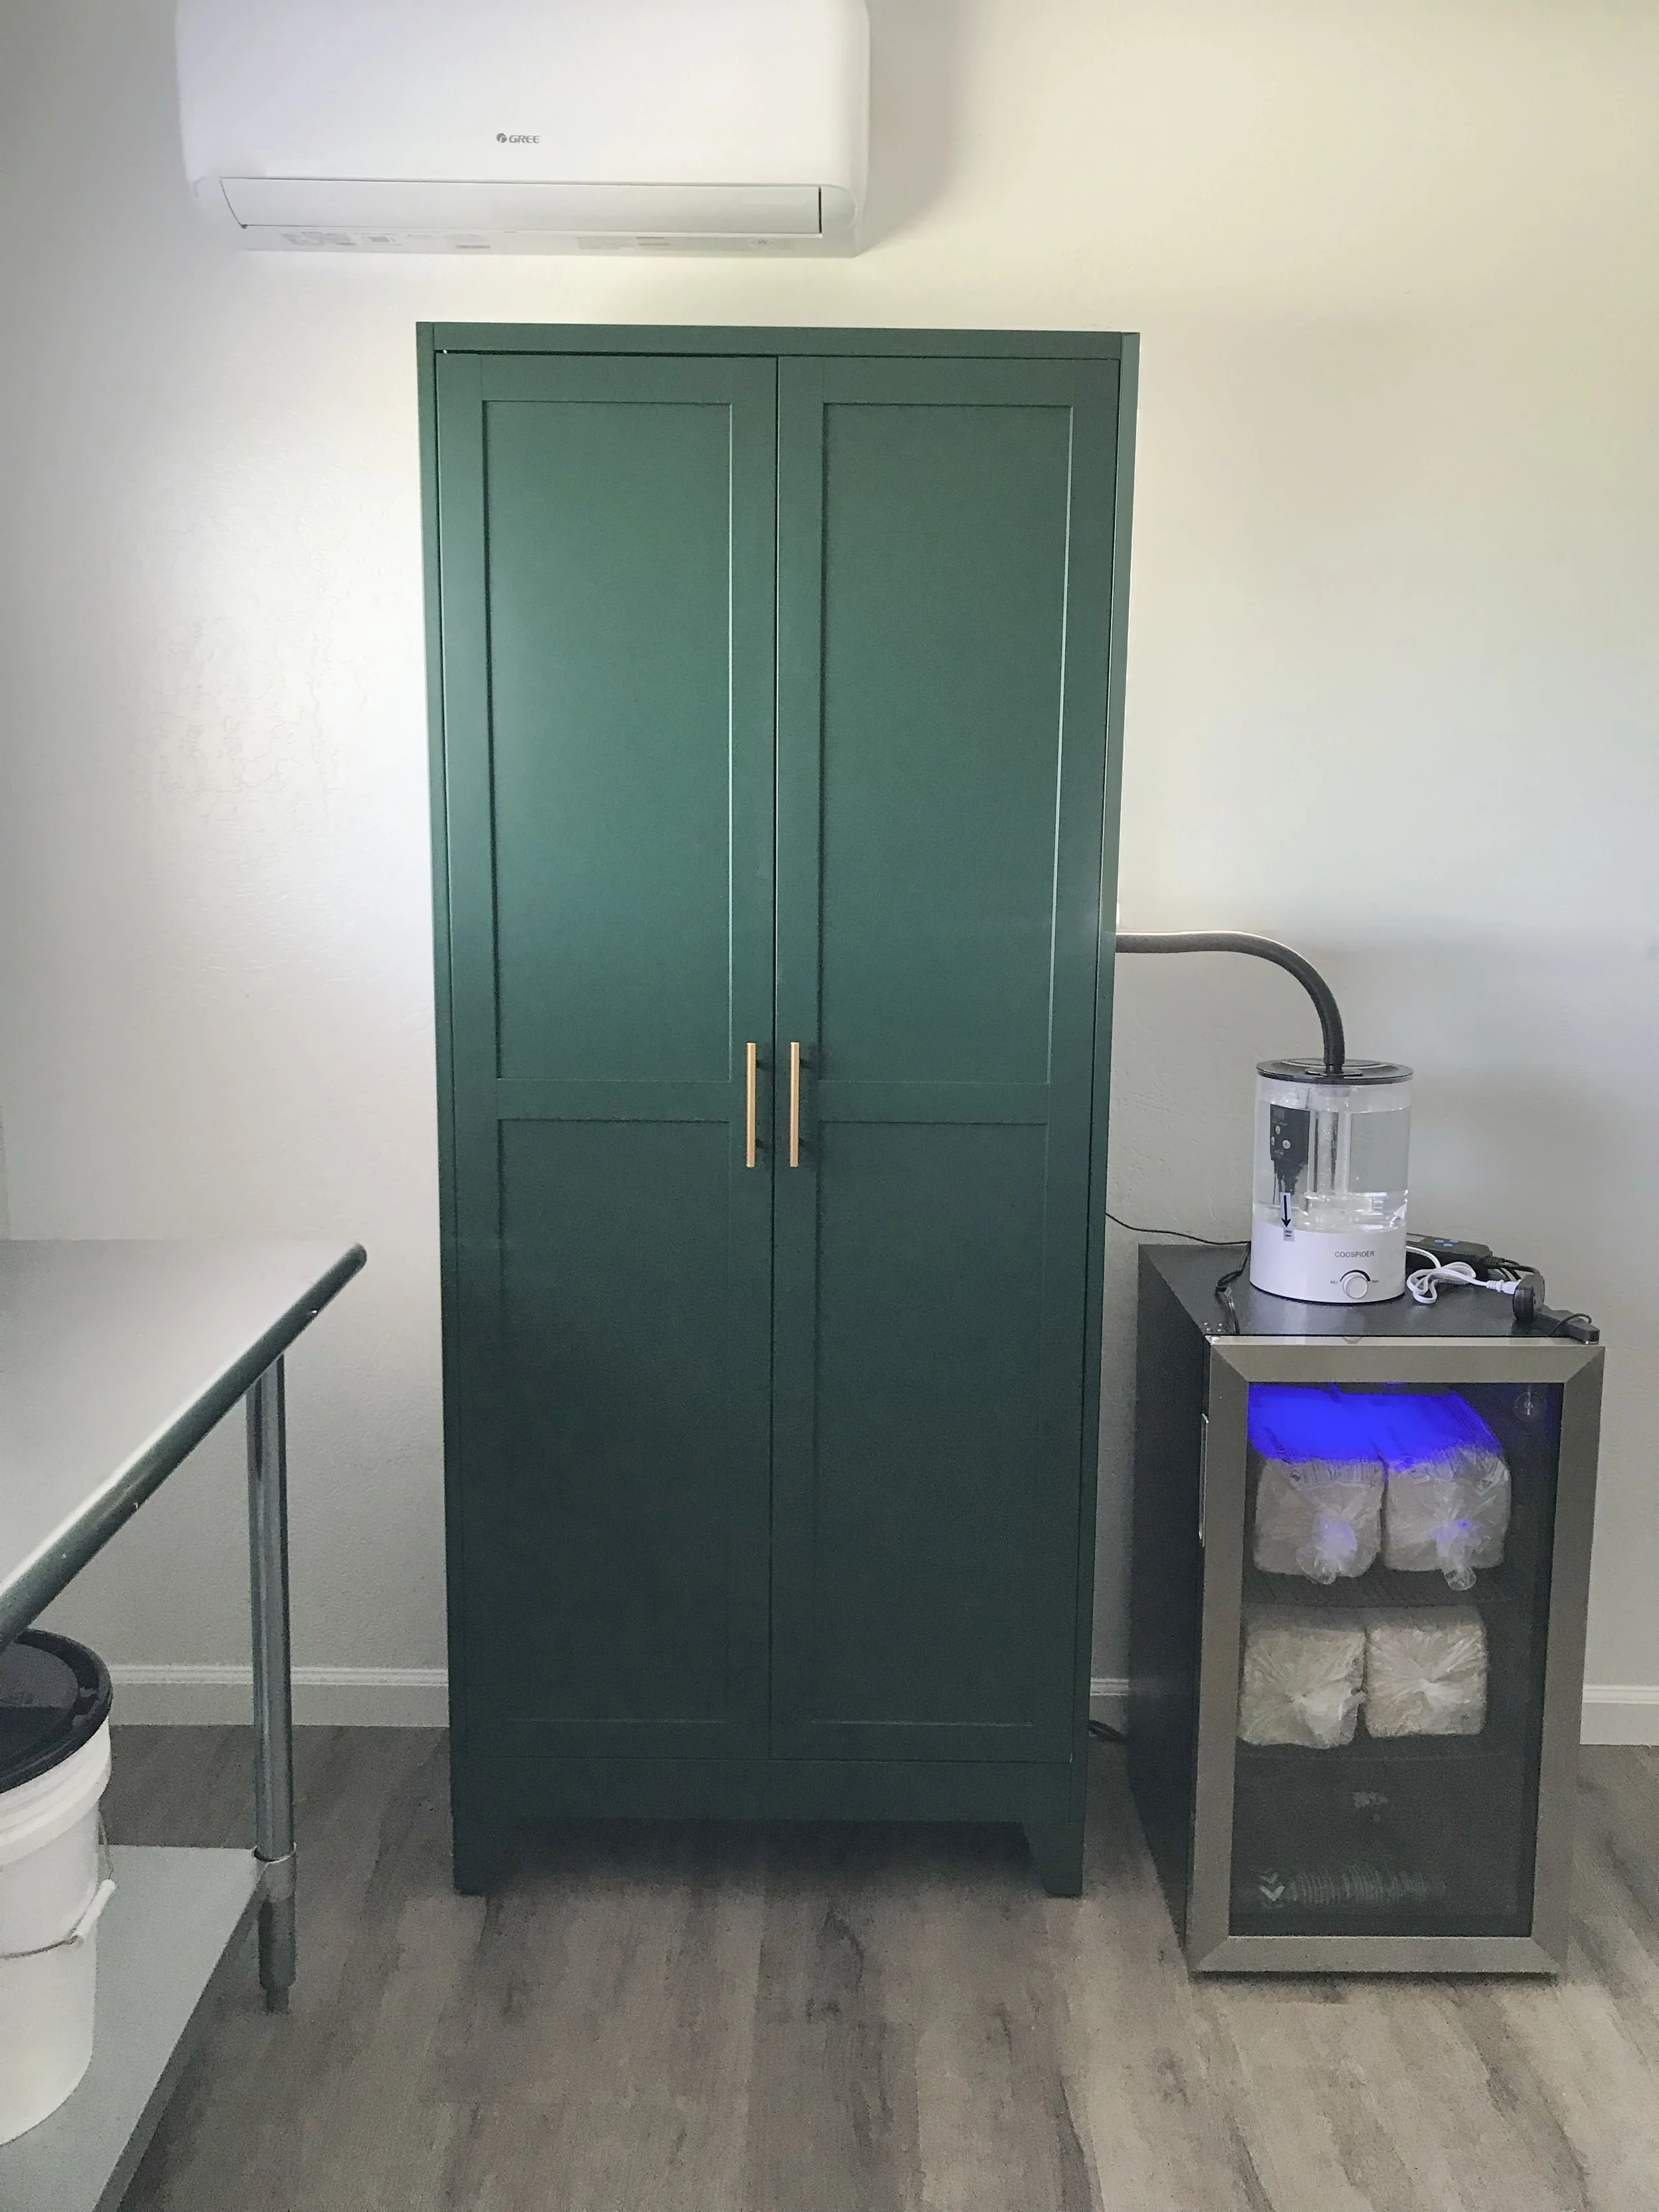
View of the final installation of the Humidity Chamber with Misting System and Humidity Controller. Side Note: The Misting System and Humidity Controller are sitting on top of my clay incubator which keeps the clay at a constant temperature.
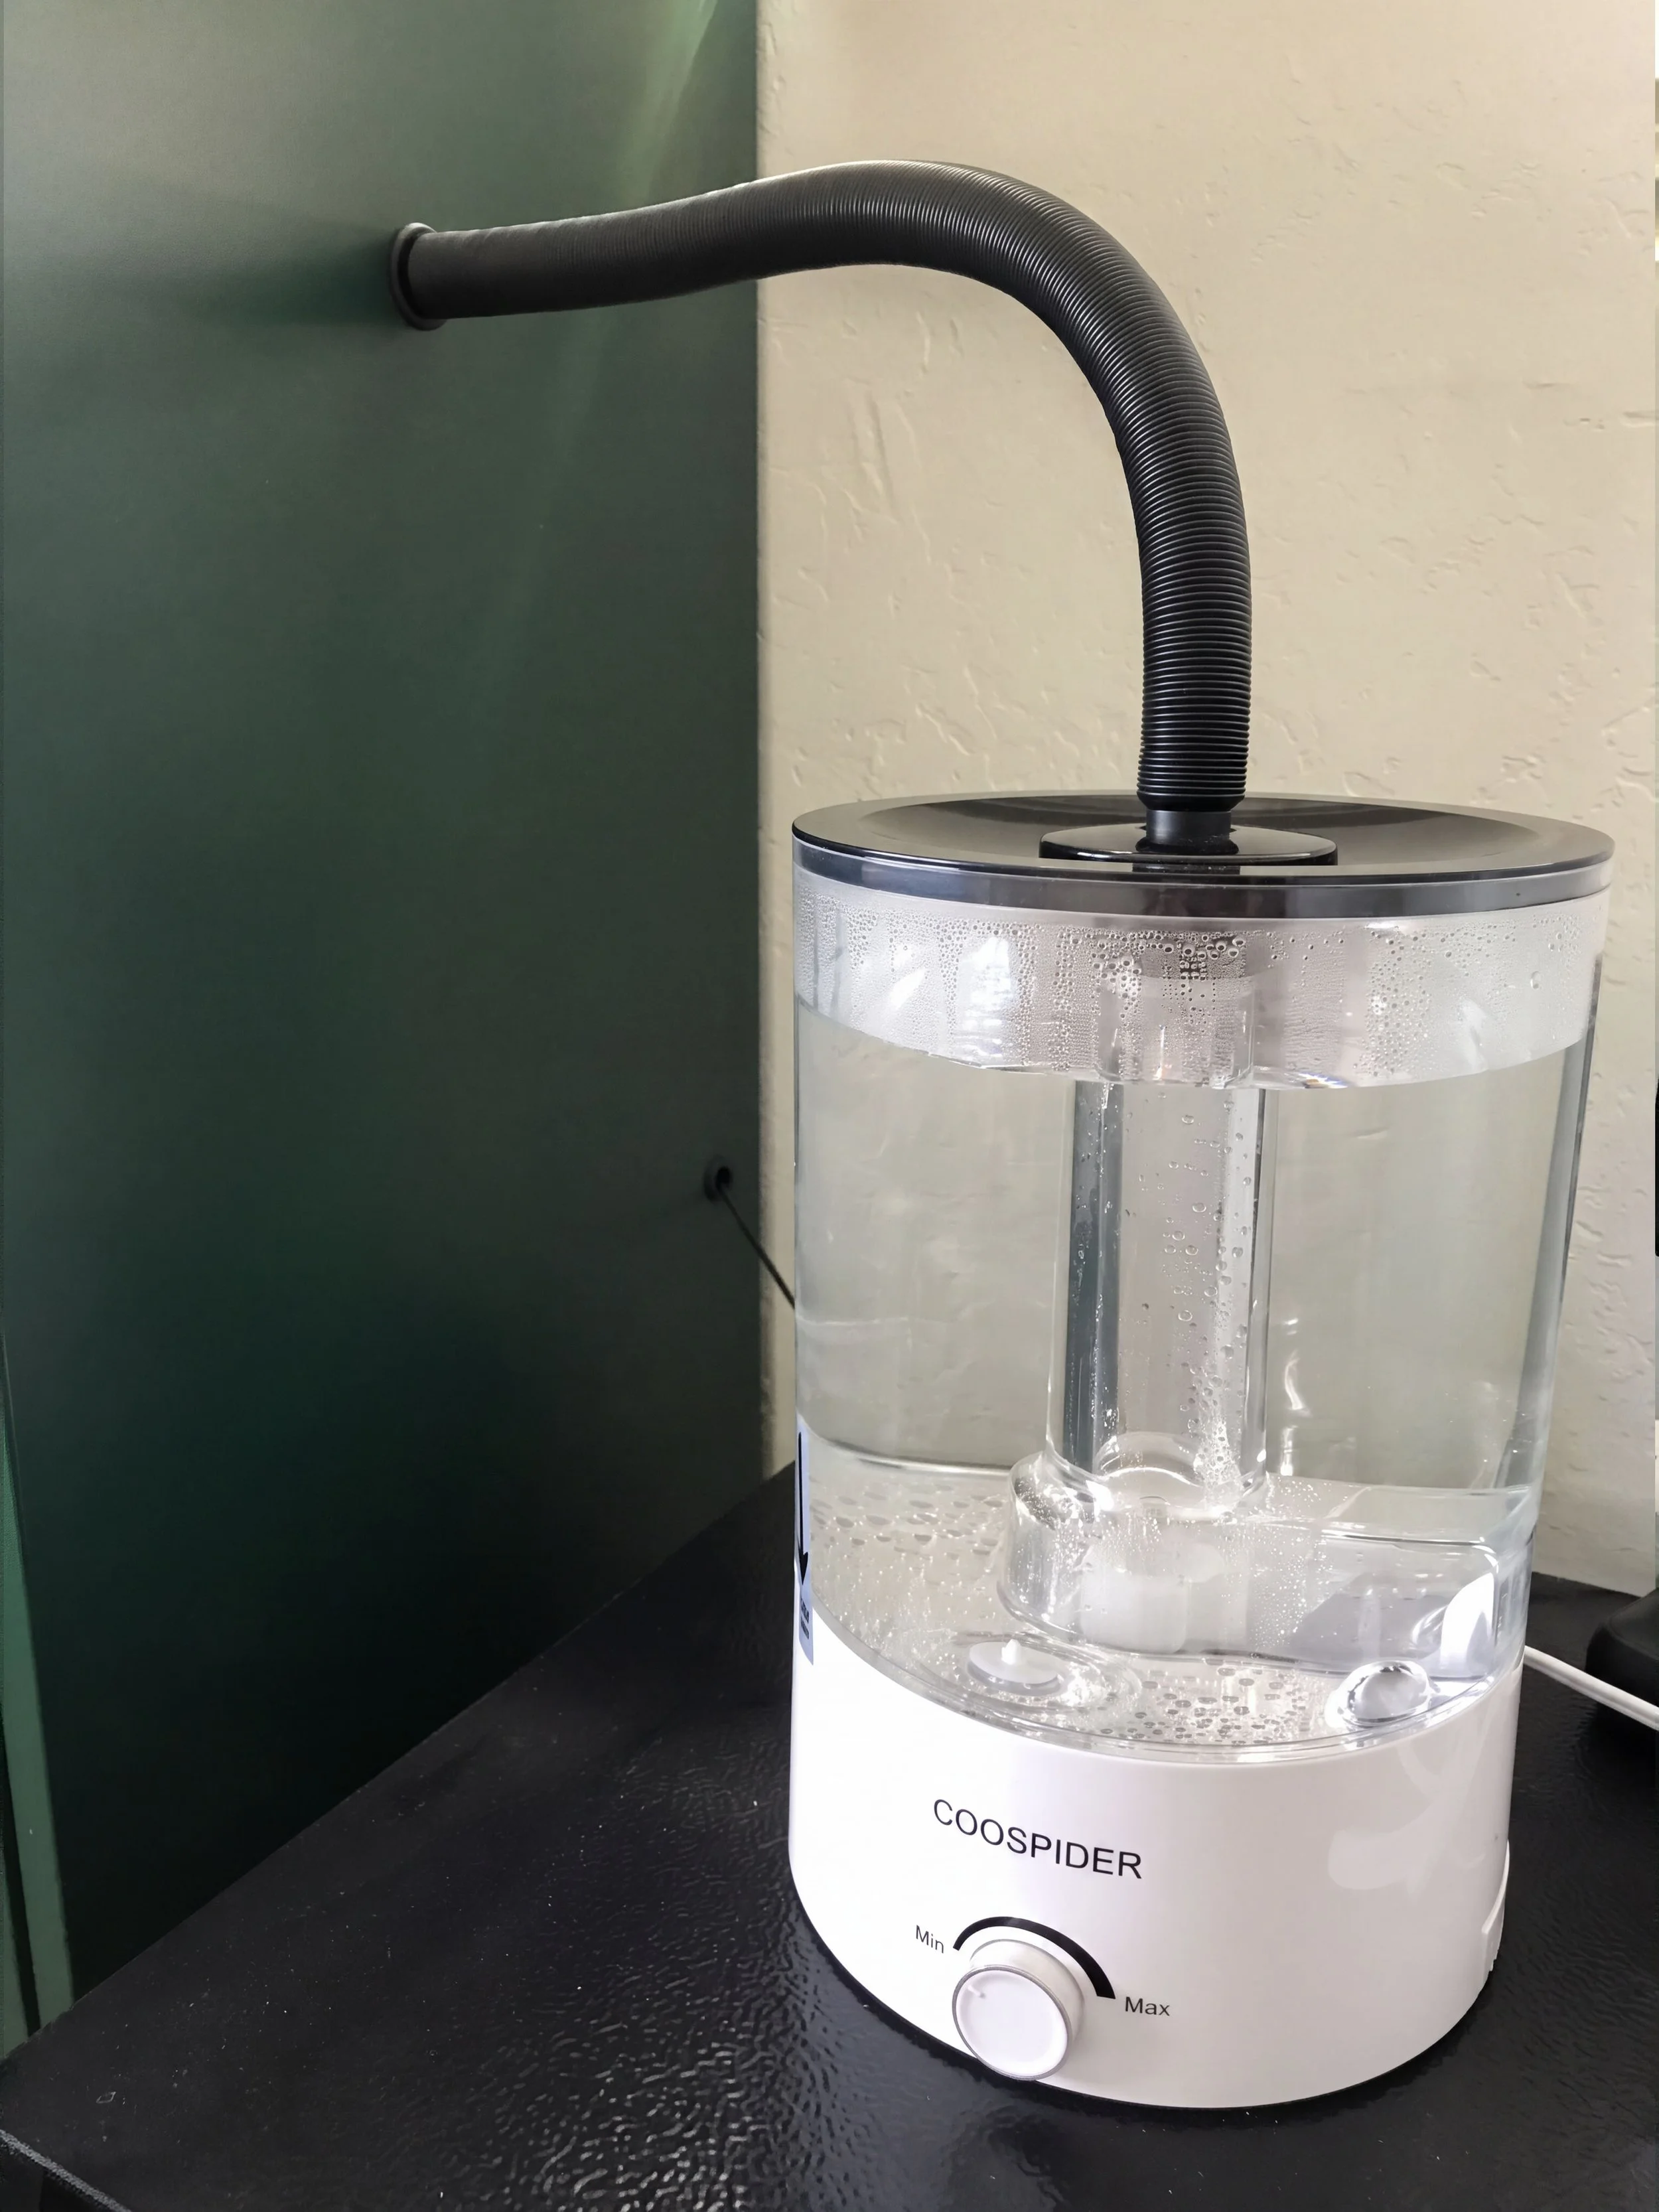
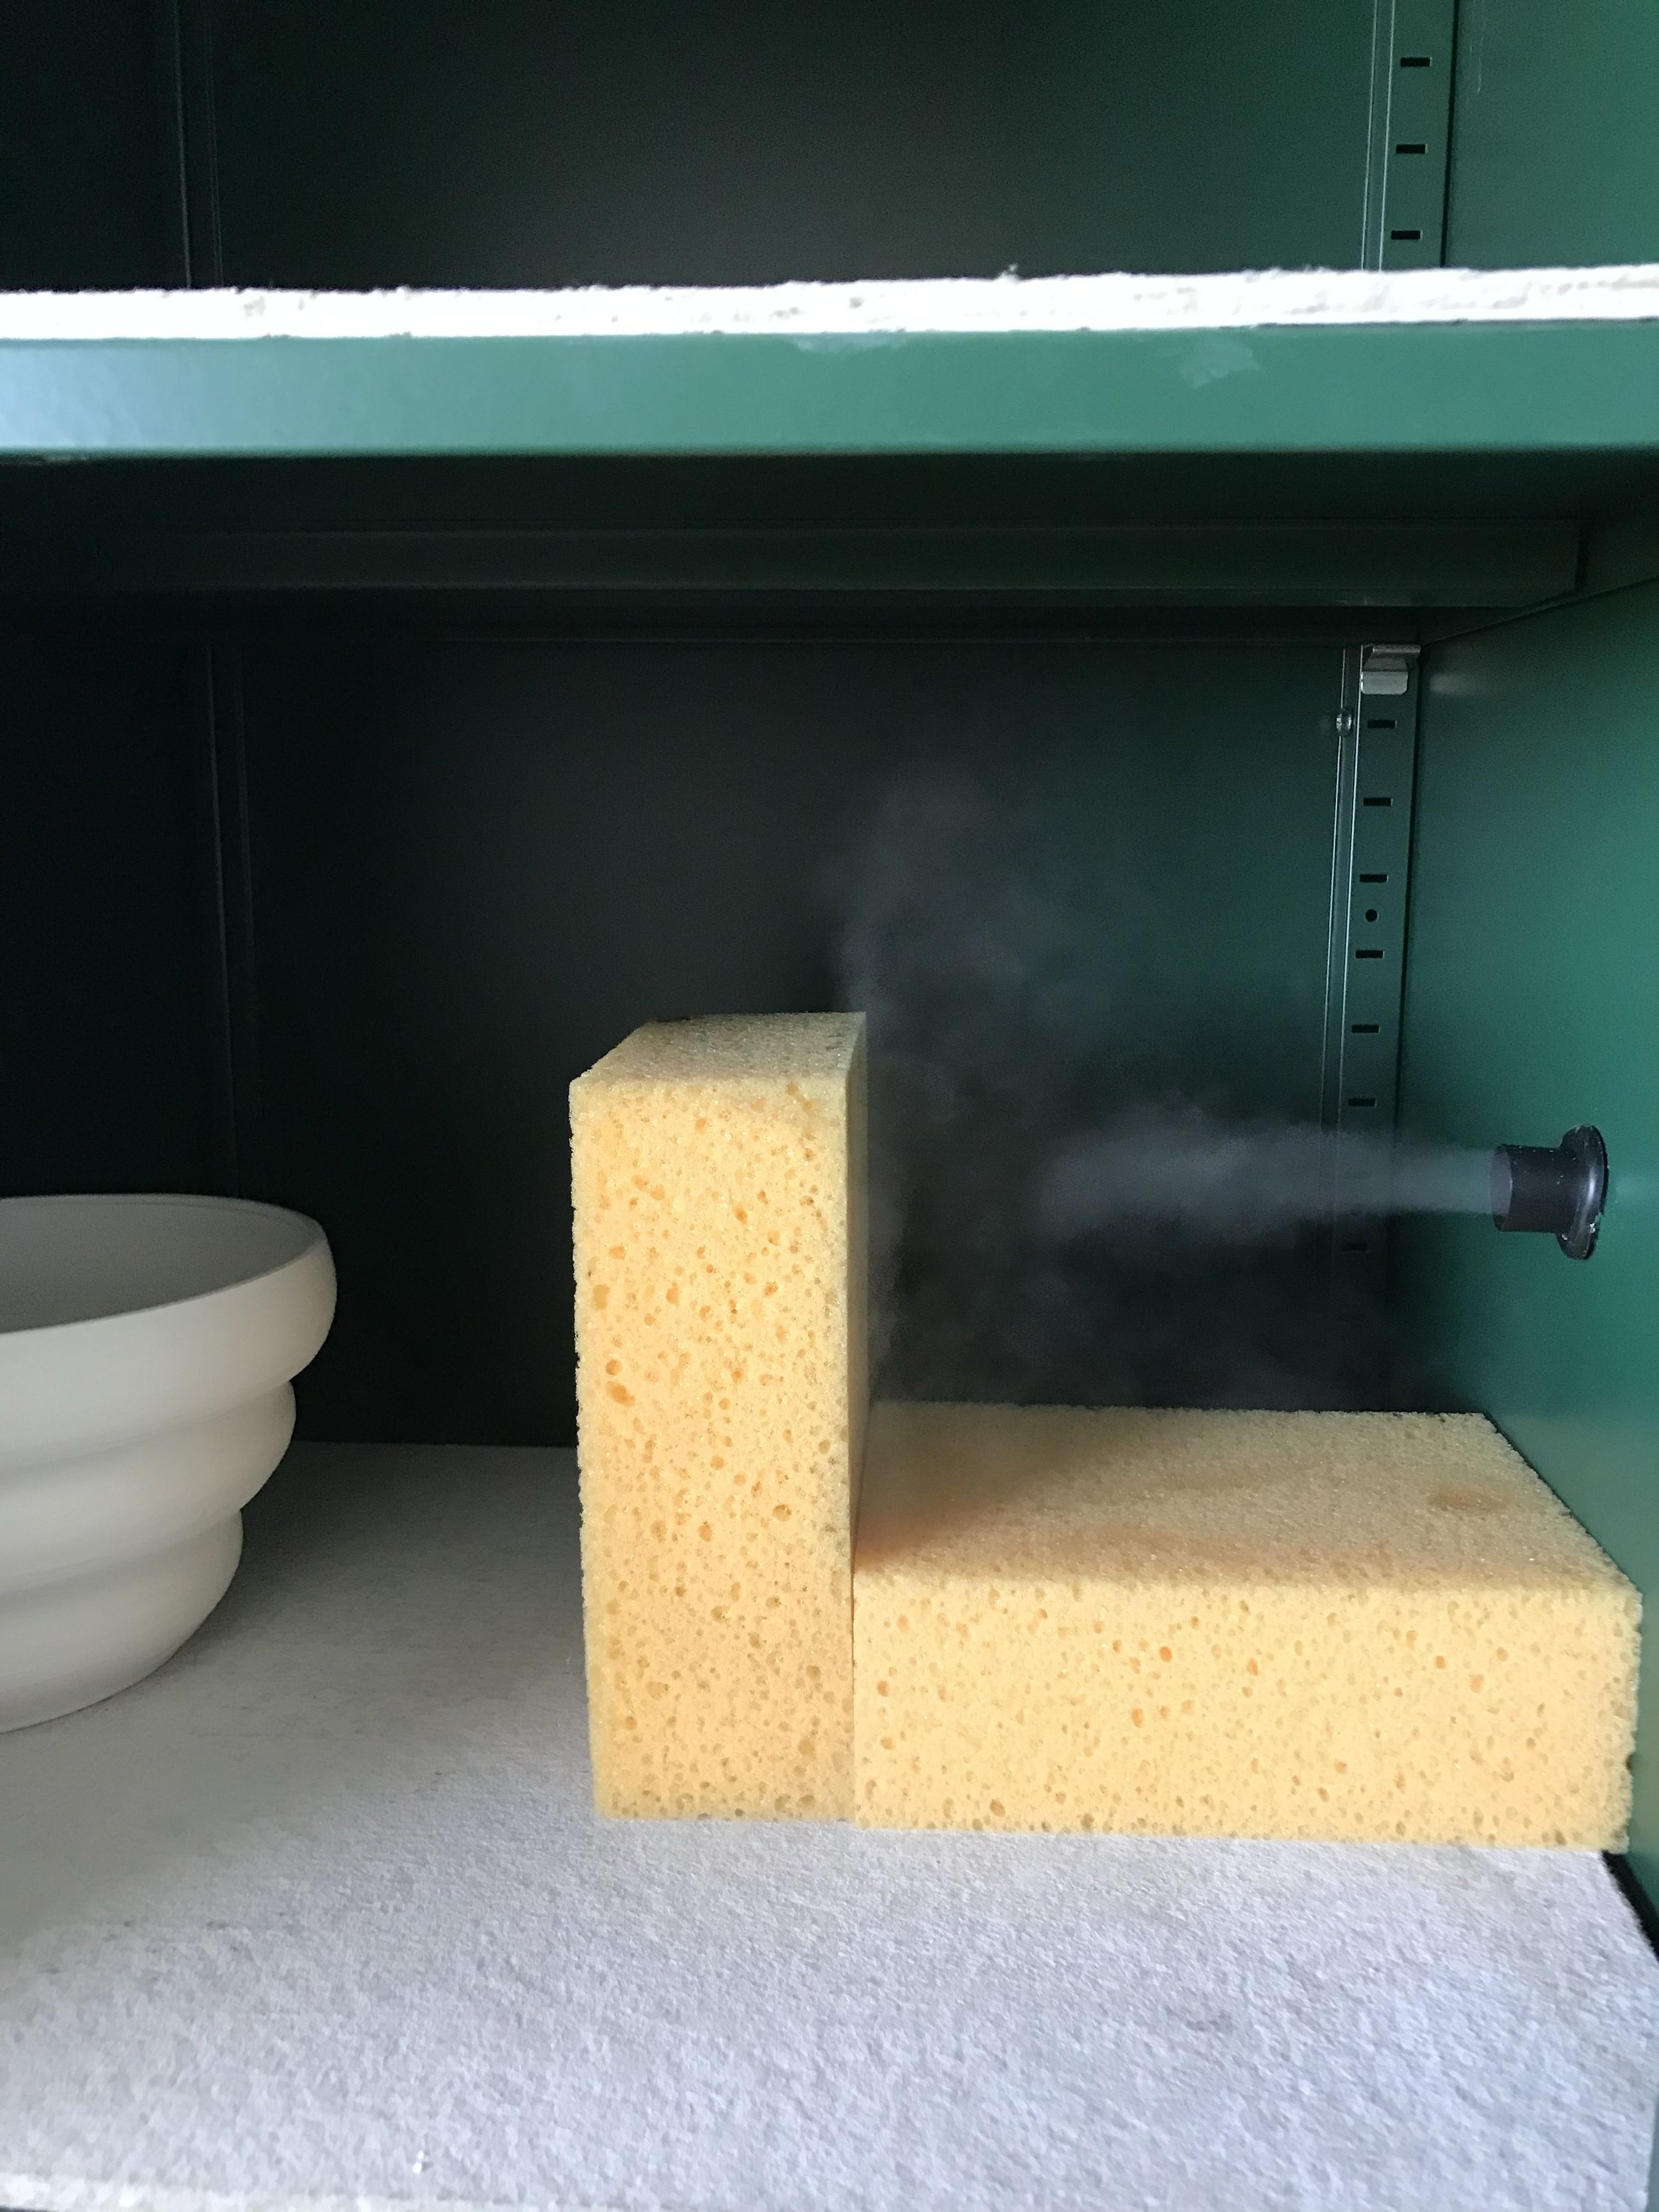
Step 2: Purchase a reptile misting system and two sponges, then install.
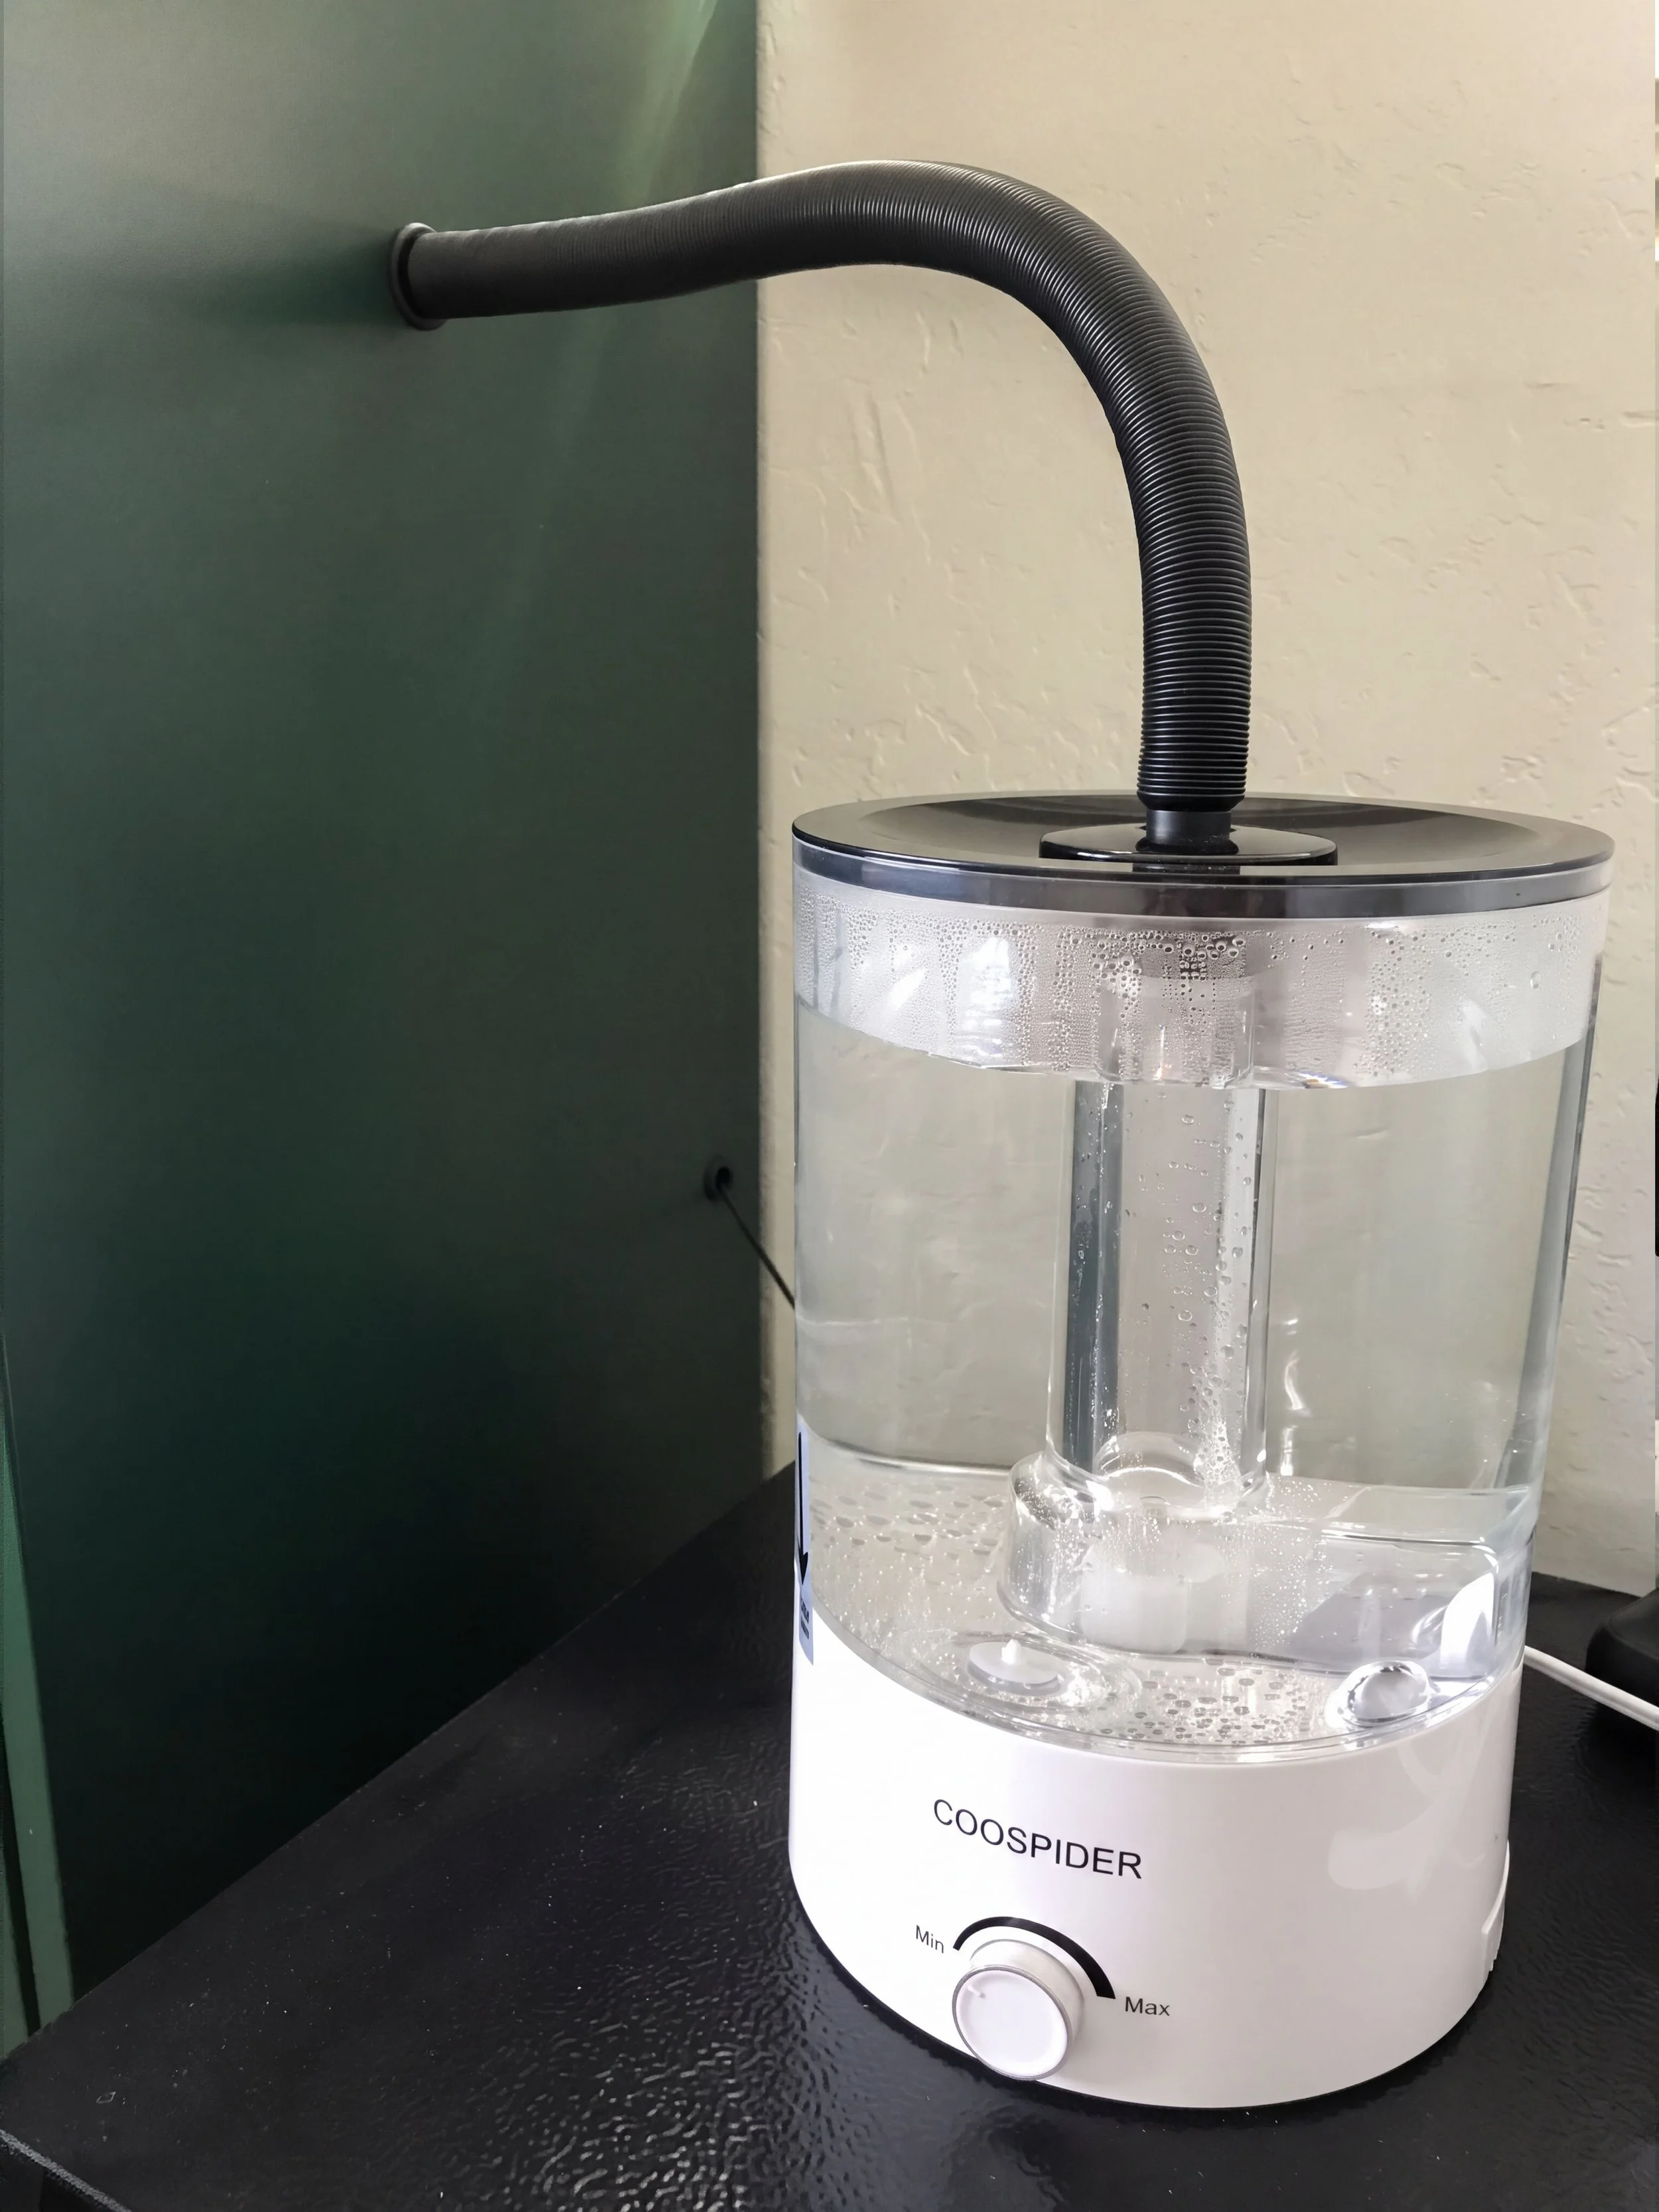
The misting system emits a fog that creates humidity in the chamber or storage unit. Drill a hole into the side of the cabinet, install rubber grommet, to place the misting tube. Place two grout sponges in an L-Shape to catch any water that may drip.
Step 3: Purchase and install a humidity controller.
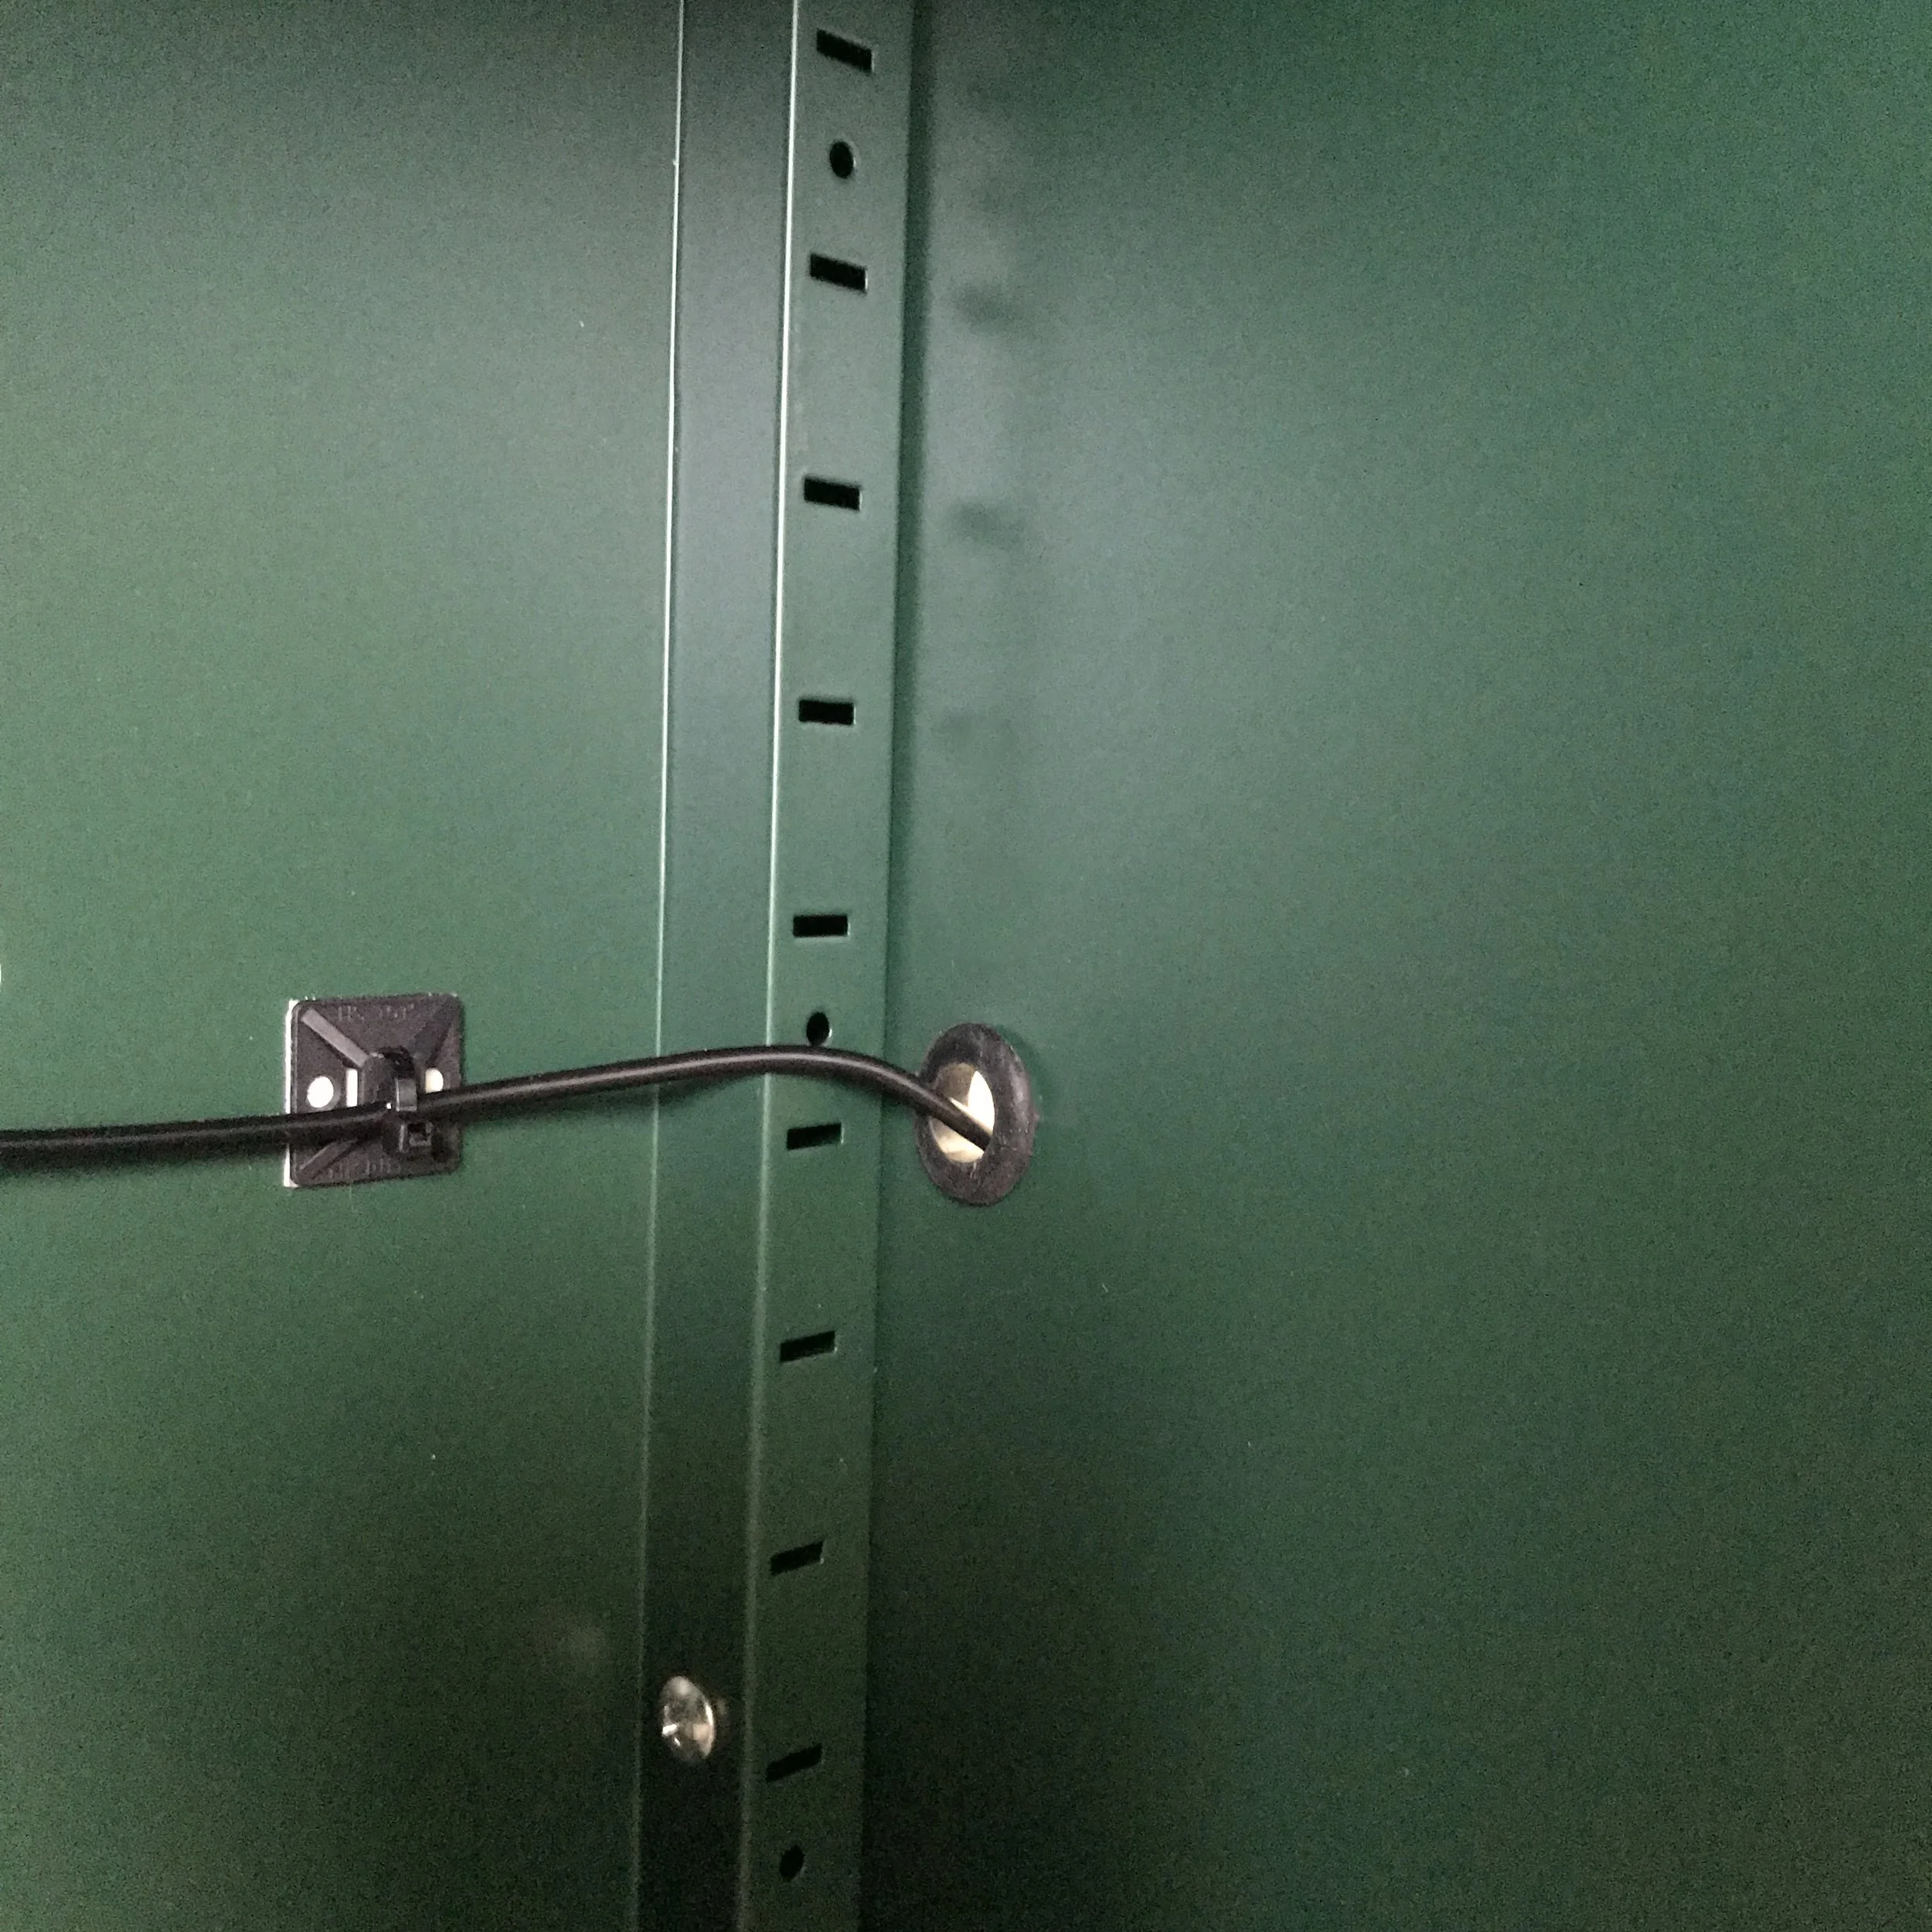
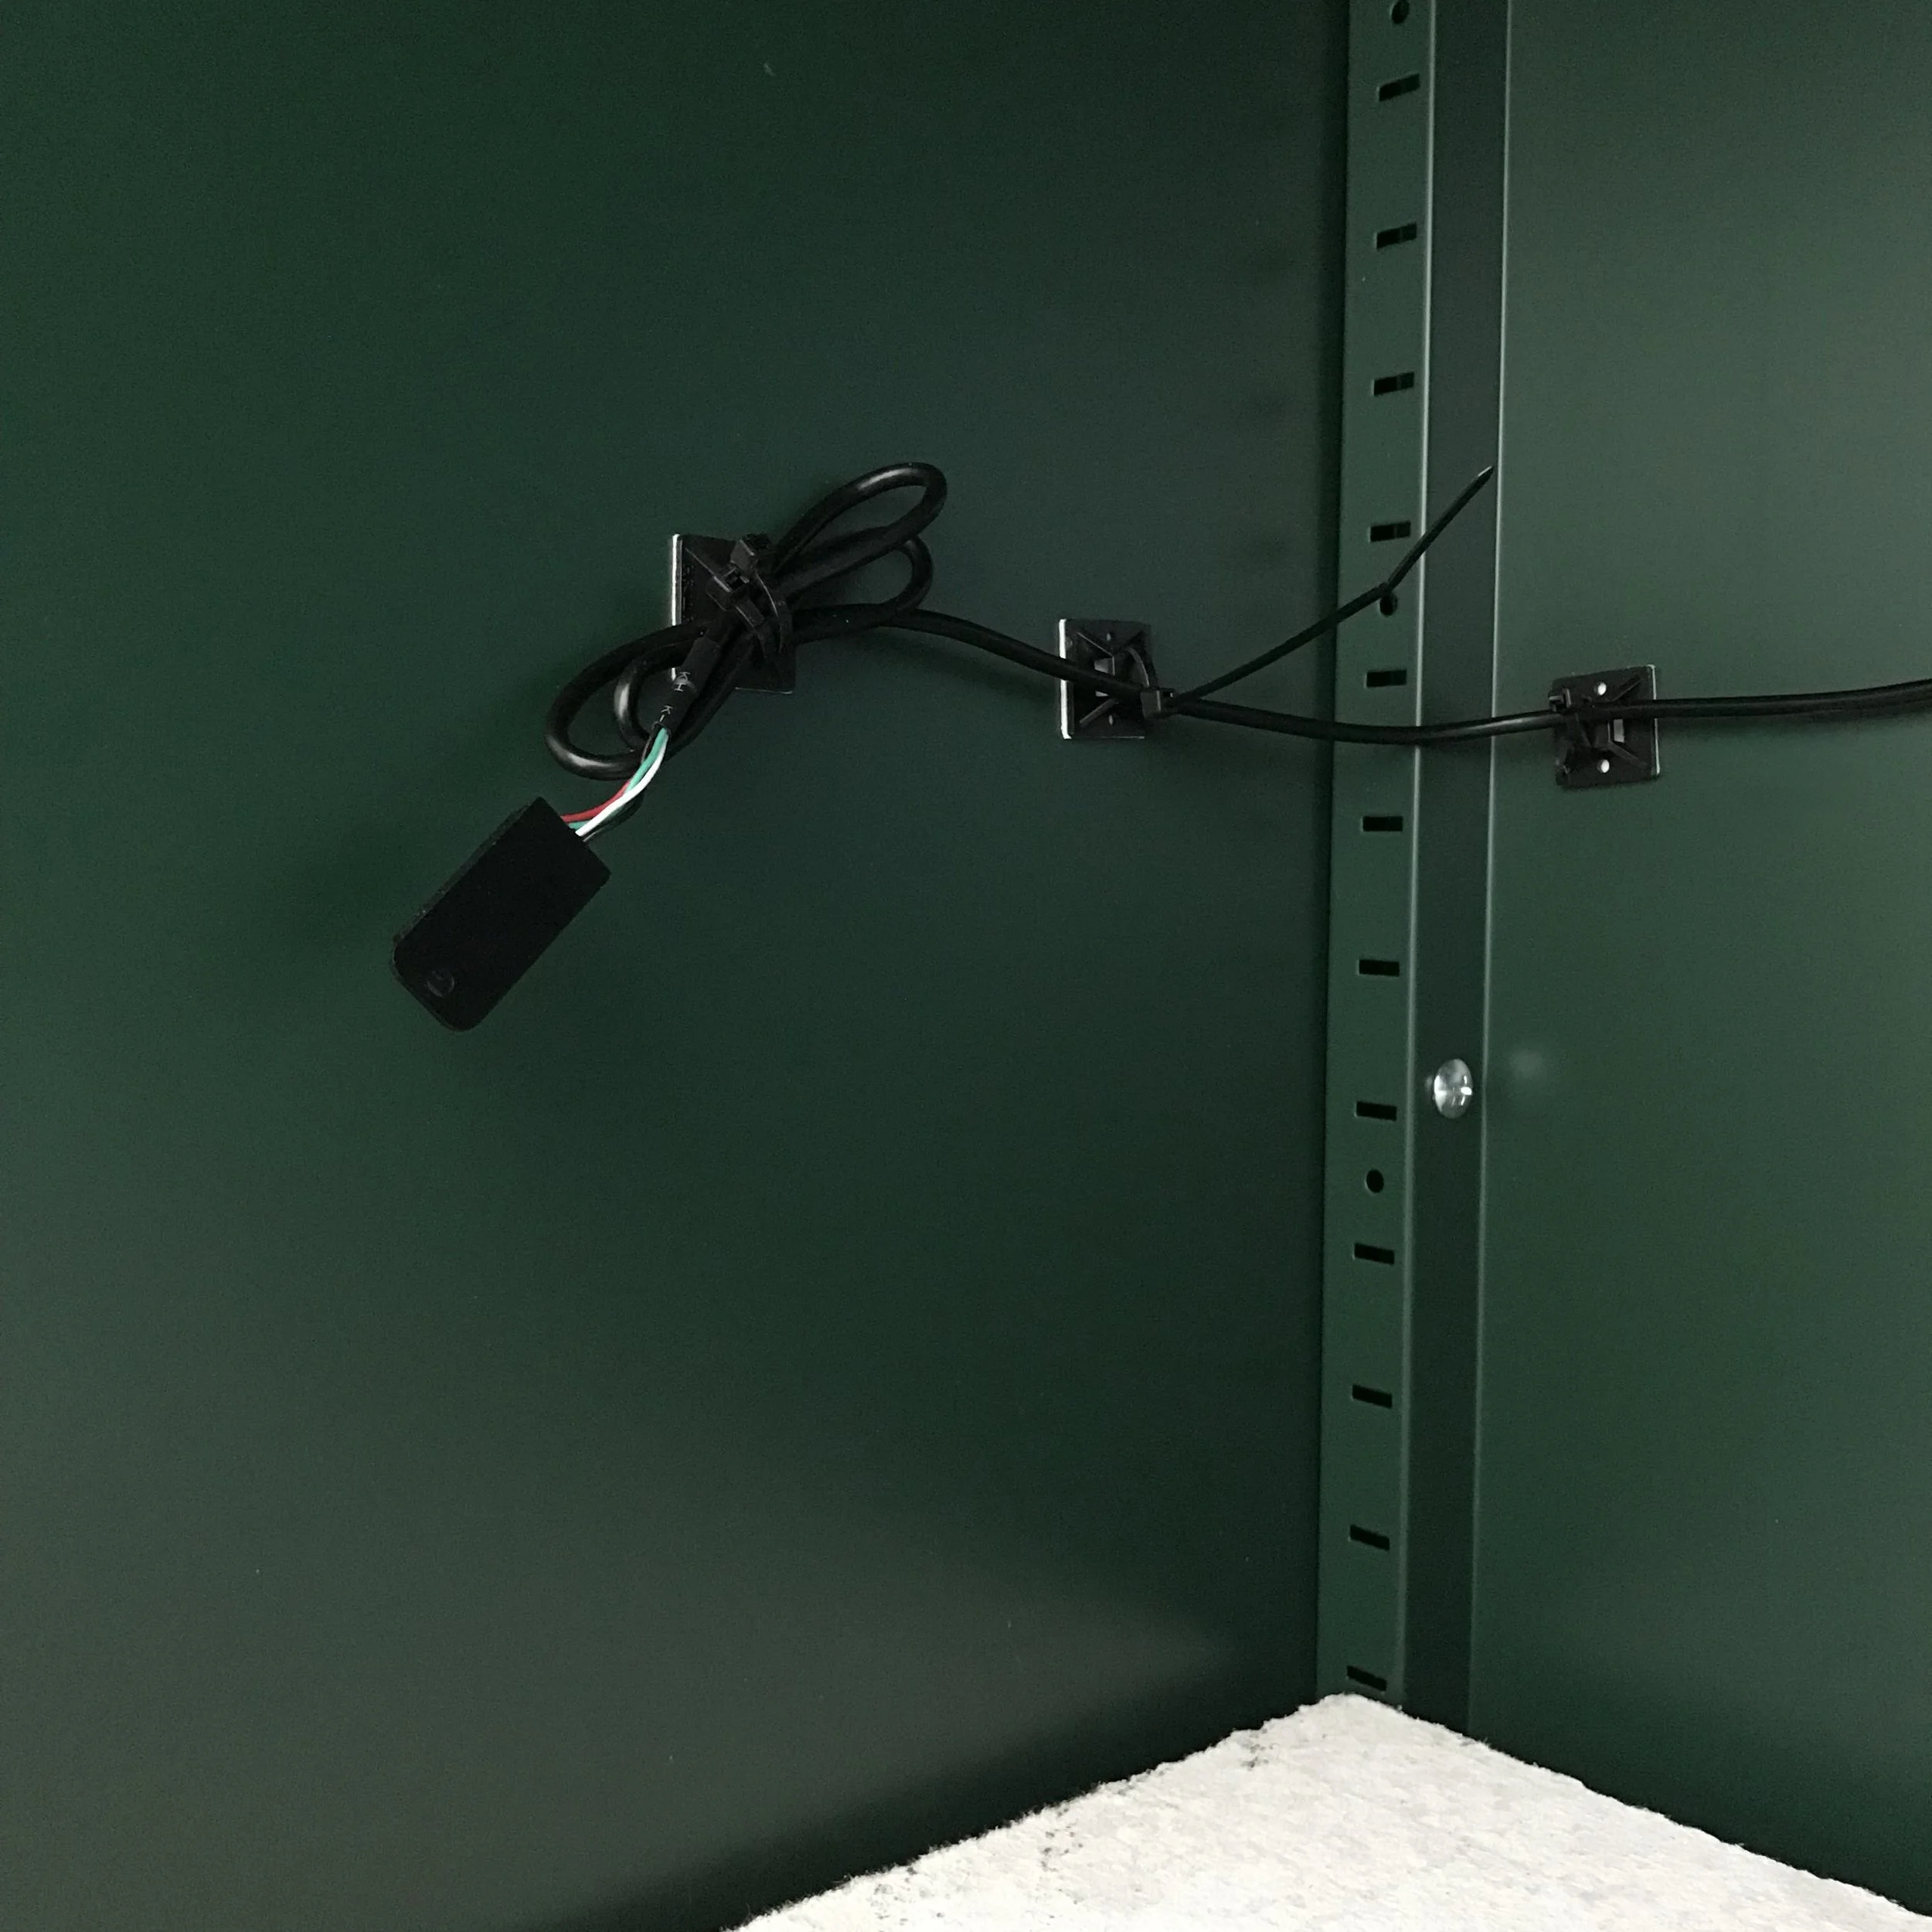
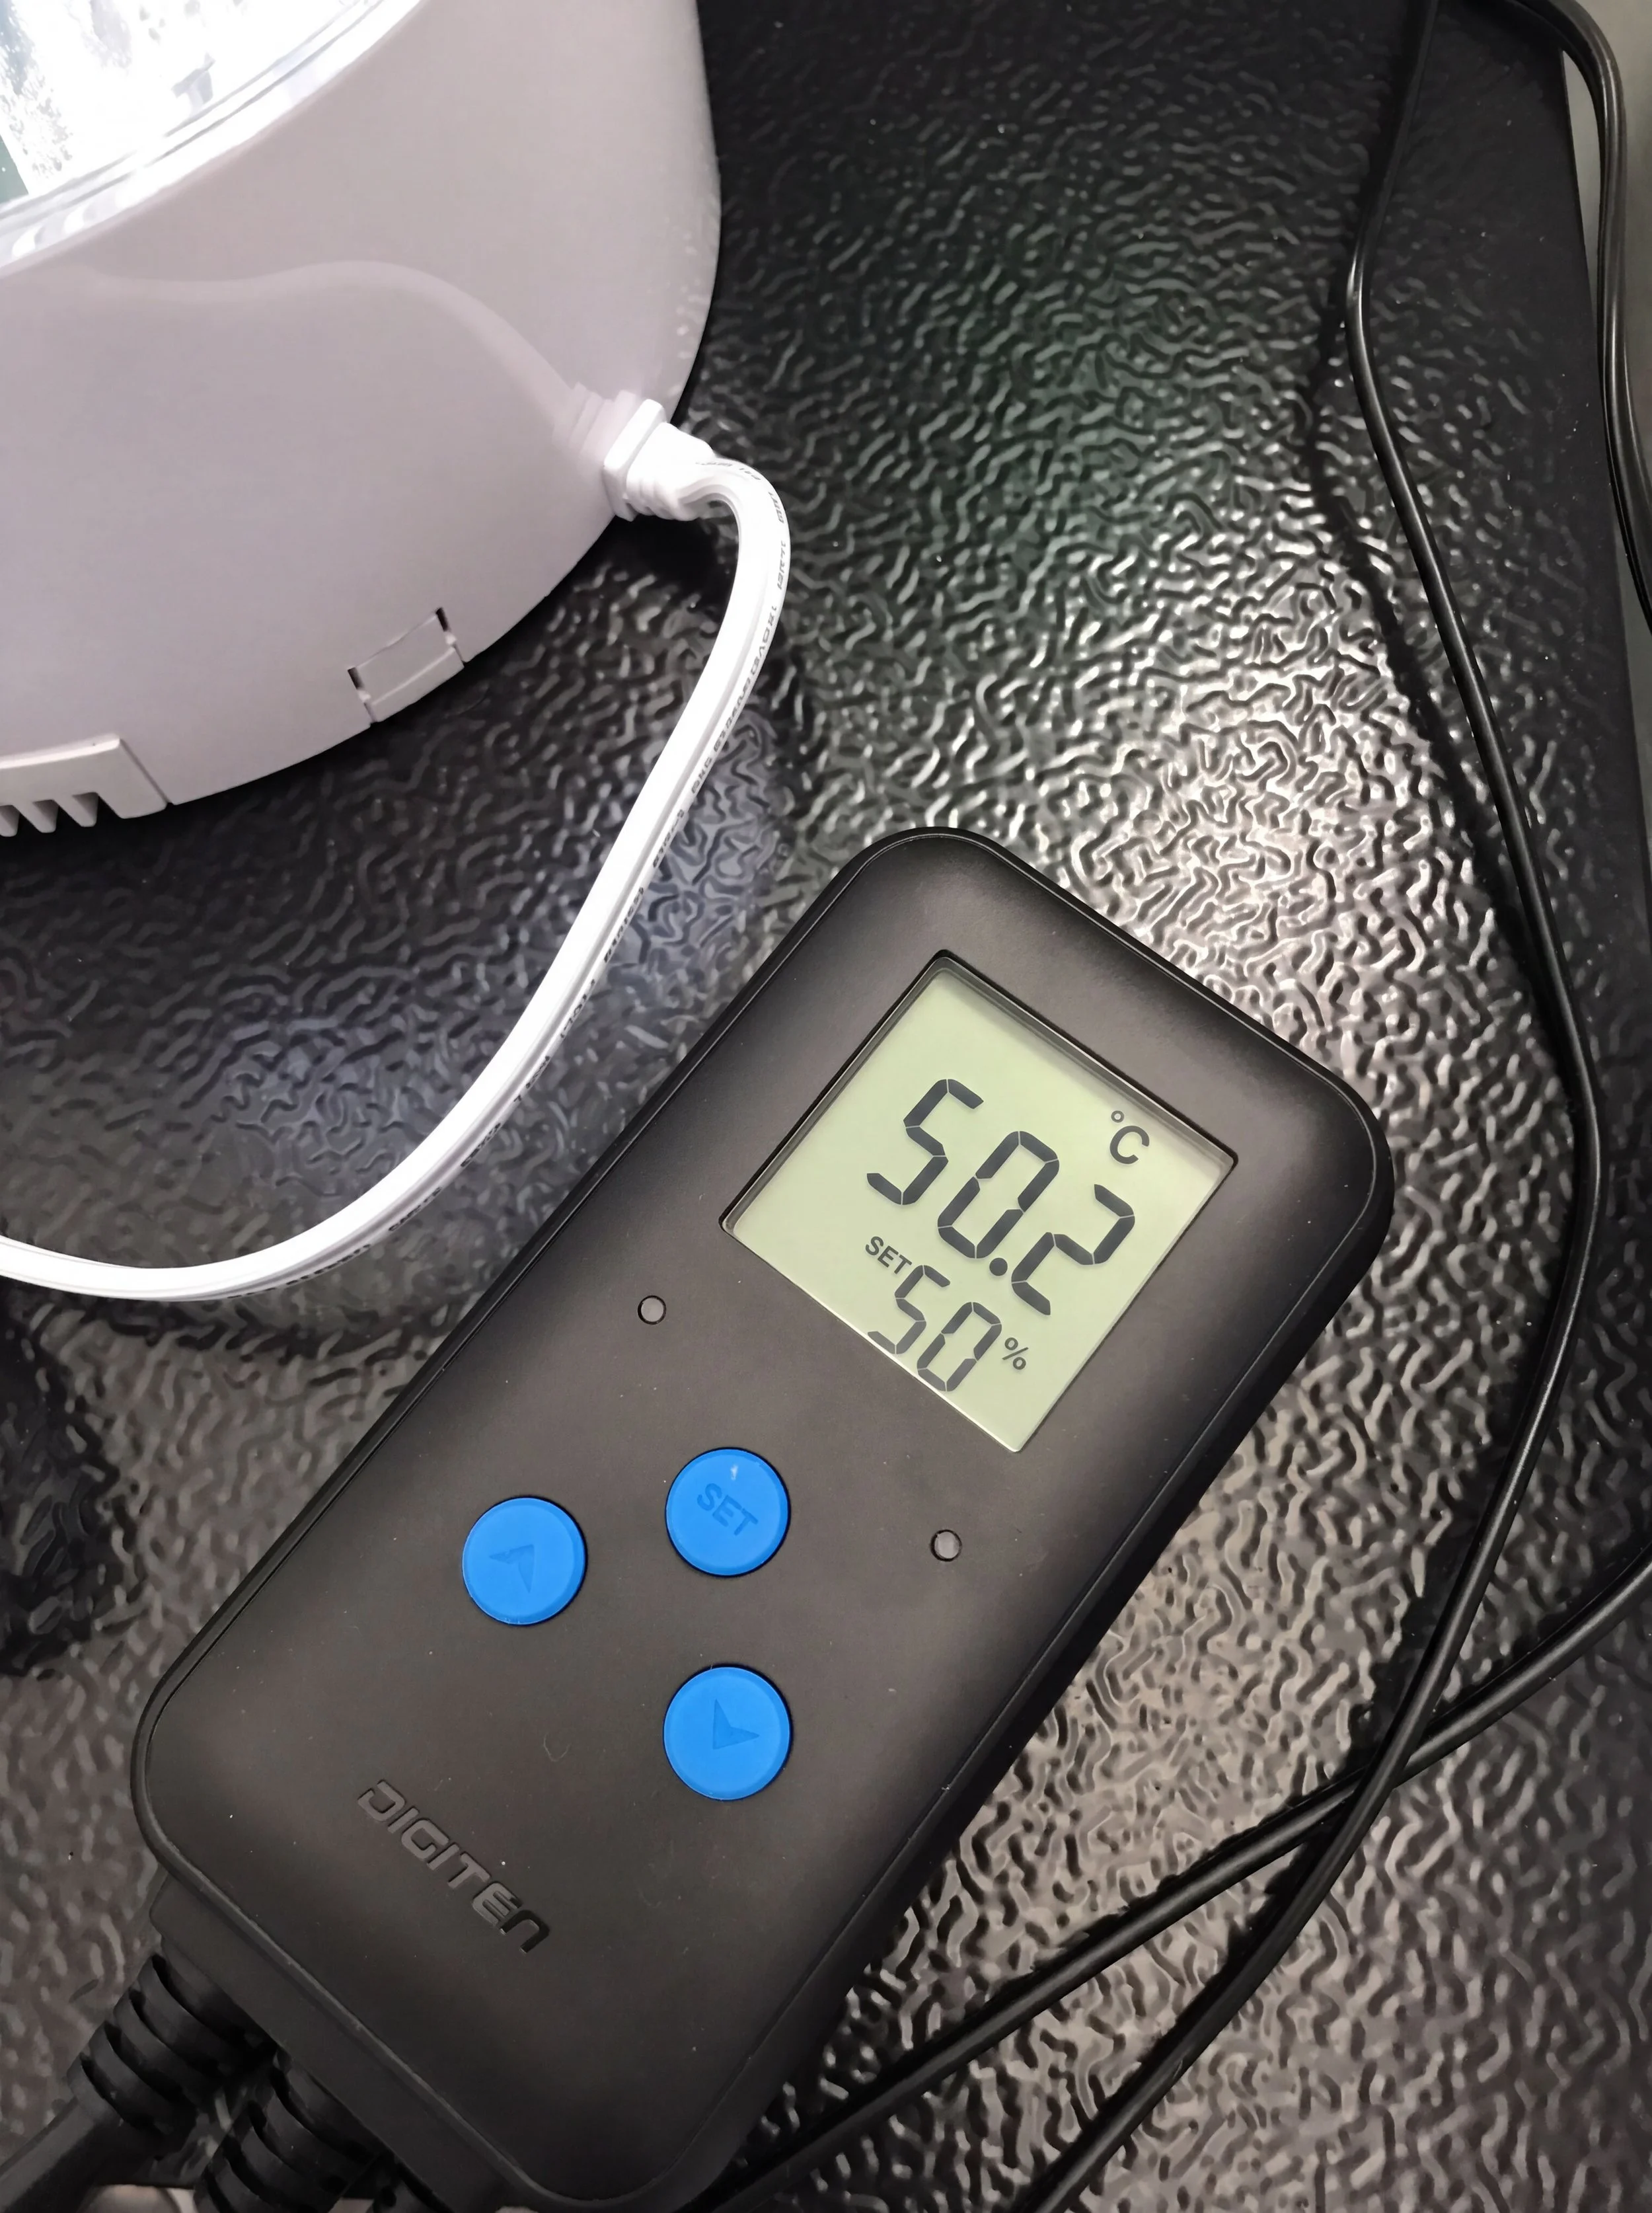
The humidity controller keeps the humidity at a constant 50% within the chamber or storage unit. Drill another hole far from the misting tube, install grommet in the hole, in the cabinet and run the sensor through.
Digiten Humidity Controller from Amazon.
Step 4: Purchase, cut and line storage shelves with cement board.
Measure the shelves and use a utility knife to score and snap the Hardie Backer Cement Board to size.
Hardie Backer Cement Board from Home Depot.
Step 5: The Humidity Chamber is now ready to use.
Since using this chamber my cracking problem has gone to nearly zero. A big thank you to my husband for coming up with this solution. It’s worked flawlessly.
Good luck with your DIY Project! Follow me on Instagram @lisaloveceramics